
 |
| the view of the baby gate doors, and the wheels on extended arms |
I have finally completed the previously mentioned "chicken tractor." To those who are not experienced with raising chickens, a chicken tractor is a moveable chicken run that protects hens from predators, while at the same time allows them to range on new grass as it is moved. Some people move them with tractors, hence their name, I guess.
 I started out with 15 birds about a year ago, and let them free range for a time. I am down to 6 now. Predators have taken their toll, despite a shelter for them to run into with a tiny pop door that I closed at night, a 5 foot tall fence around that, and multiple roosters to raise the alarm and protect their hens, and a "guard goat." All birds were taken during daylight hours; my nighttime setup worked well.
 |
| the semi-stationary hoop house behind the fence |
Since I have a relatively stationary hoop-house run made out of cattle panels bent into a 2 x 4 frame, covered with ¼ inch hardware cloth, and attached to a double-walled manufactured chicken coop on wheels that works well for the winter, my goal was to make a moveable summer shelter for my hens. I wanted to be able to move it by myself and truck it along the woods, the hay field, or in the yard, depending upon my schedule and where insect and vegetation control was needed.
 |
| the two awning frames bolted together |
My plan came together after acquiring two aluminum frames from half-circle awnings that my parish was no longer using. I bolted them together end-to-end with the brackets that had been previously used to attach them to the building. Then I wrapped the curved top part in ½ inch, 19 gauge, galvanized, welded wire hardware cloth one section at a time by stretching the wire and attaching the edges to the frame with zip ties. (This mesh should keep out everything but rodents, which I am not concerned about because of the frequent relocation of the coop.)
 |
| the tractor completely wrapped except for the door end, along with the failed rope handle |
 |
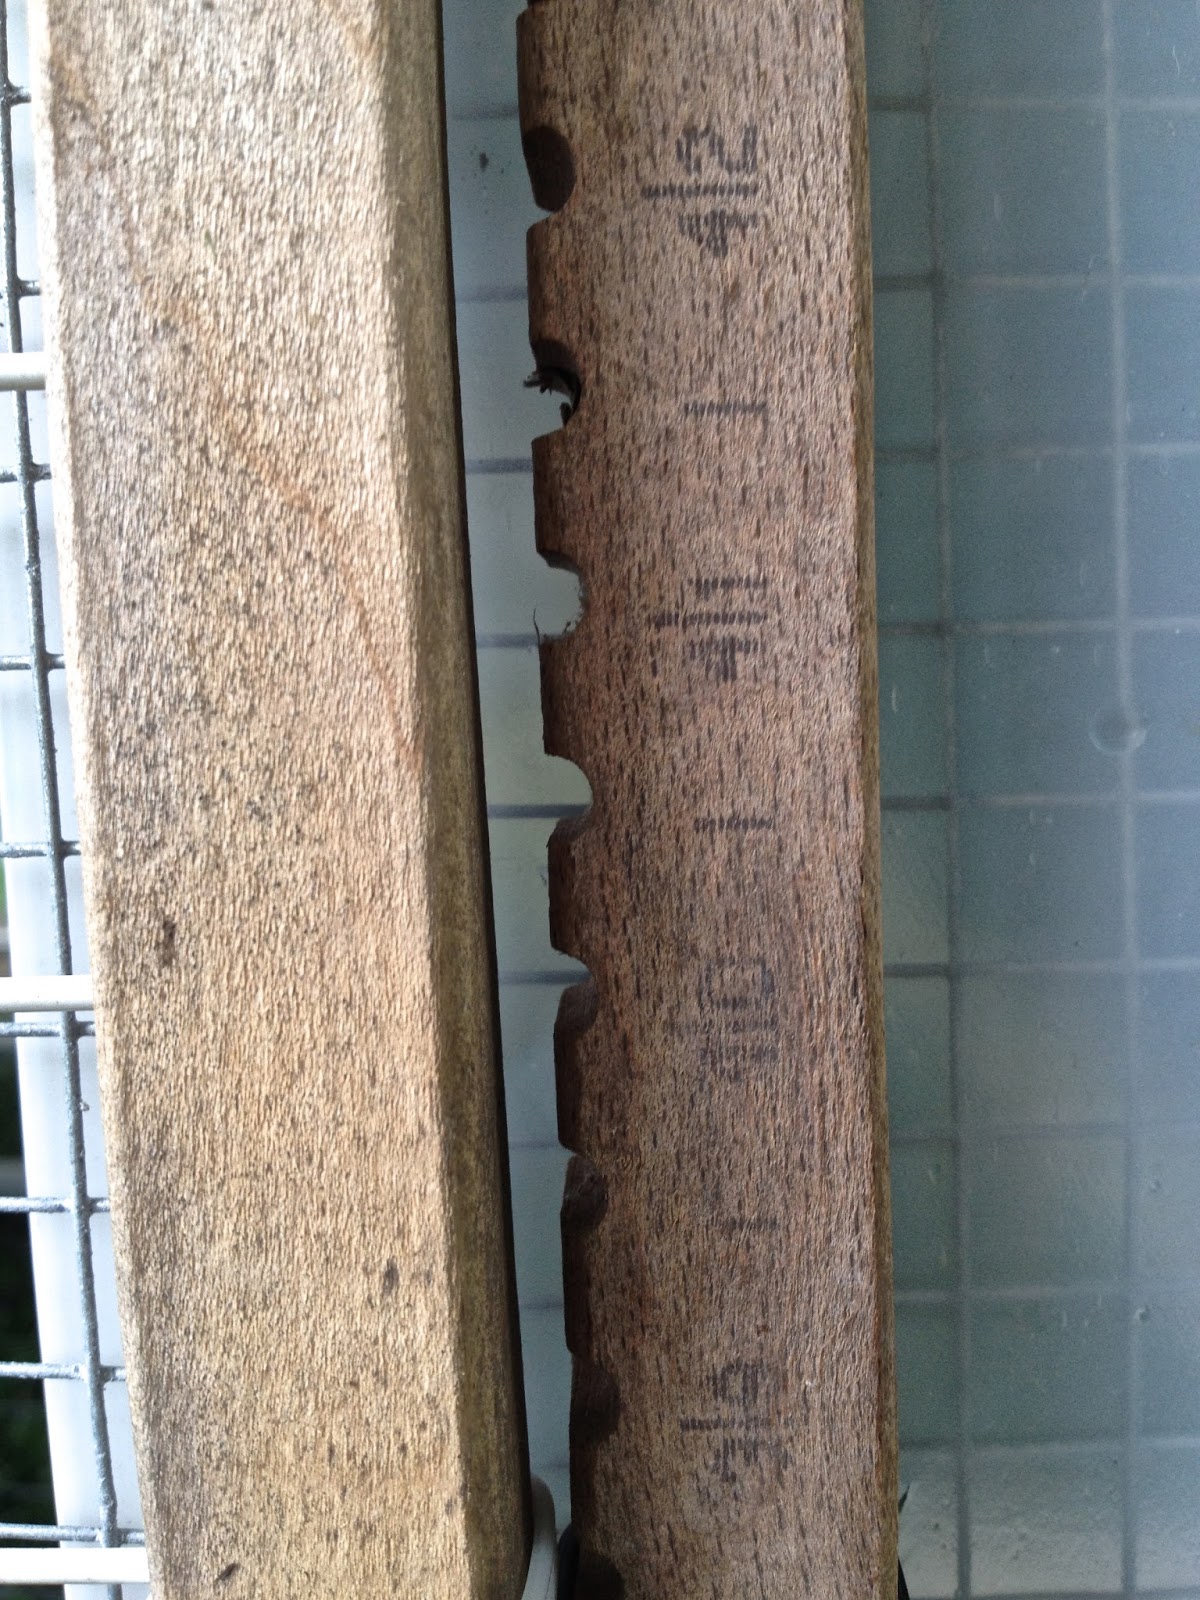
| the wheel arms attached with pipe strapping |
After each top section was attached, I attached the bottom panel. (I need these to keep out digging animals.) This meant that I rolled the frames over a lot. For the bottom I used a larger gauge and larger opening of 2x3 inches so that the hens could scratch, eat greens, and find insects. On one end, I attached 2 x 4s that I scavenged from the
barn to the outside to extend wheels off of the end. This would give me ground clearance when rolling the run about. I did this from the inside with plumbing strapping so that the screws could go through the holes in the wire mesh and not hurt the integrity of the hardware cloth. I also drove a screw through the wood from the outside of each board into the aluminum frame to keep the board from flexing too much as the hoops increased in weight. To the 2x4s I attached leftover sections of landscape timbers so as to keep the wheels from rubbing on the extension bars. Through these two pieces of wood I drilled a hole though which to run a bolt that would act as an axle. On these bolts I slipped wheels that had been left in the barn by previous owners, stabilizing them with large washers left over from another project.
 |
| the wheel extensions |
After the wheels were completed, I wired up the end without the wheels. Inside the other end I rigged up two levels of roosting bars by using old wooden fence stakes that I oiled (to discourage mites) parts of a broken Swiffer Sweeper handle, a discarded extension rod, and of course.... more cable ties! In the corners on the same end as the roosts I attached old plastic wash tubs collected from the barn to the frame with more zip ties. I found steel S hooks from which to hang the feeder and waterer that had once been part of a pot rack at our old home. I put the coop-type items on this end so that the heavier items would be closer to the weight-bearing wheels.
 |
| the roosts under the tarped end by the doors |
After that coop section was squared away, I used two panels from a discarded wooden-framed baby gate that I dismantled for doors- after coating them with hardware cloth. I had to add a frame along the edge to keep animals from prying the door from the wire wall. I added little latches and carabiners to the door corners and framing to keep the doors securely closed and safe from raccoon paws. I wrapped the portion above the door with leftover heavy-duty plastic sheeting, along with the sides next to the door. This should keep the end of the taller roost and the nest boxes dry during driving rains. Finally, I attached tarps to cover half of the top for sun and rain protection purposes.
 |
| Carabiners are key to foiling 'coons. These latches are at the door corners to prevent prying. |
 |
| The baby gate measurements are like the convenience store door frames- ha! |
 |
| The chain and pipe handle are also on in this picture. |
The coop is necessarily on the heavy side due to all of the wire mesh and its length. With the handle strung tightly along the lower frame edge, I can barely lift that side and roll the coop. Usually I will only be moving it the length of the coop, so this should work for me. My problem right now is when and how to move the run. I have to move it at night after the birds have roosted. I haven't been brave enough to try it during the day when they are all running around for fear of hurting legs. The floor grating has large holes so that they can scratch, and I'm worried about a bird getting dragged or getting a leg stuck. Hopefully I will figure this out soon! I have read about others with wire bottomed chicken tractors whose hens simply hop up onto the wires when it is lifted for moving.
I was looking forward to completing this and having a sense of accomplishment. As a mom, whose duties are never-ending, finishing something would be a welcome novelty. Since most of the summer is gone and collecting eggs so low to the ground is a pain (as is hanging the waterer and feeder) there has been a bit of a let-down for me. Plus, the seeming never-ending rain has made everything the consistency of a sopping wet sponge, so the new turf the chickens get isn't quite as desirable as I had envisioned, and the tarp is trapping buffalo gnats underneath.
On the plus side, the hens can now hop down at the crack of dawn and scratch about without waiting for me to let them out of their coop into their semi-stationary run. They have about twice the square footage to roam in too. Hopefully this means that there will be less feather-picking. And, from the dents on top of the tractor, it looks as though the seams are strong enough to keep out raccoons. Finally, it also means that I can be home after dusk without risking the loss of a bird. That is pretty huge too. Plus, I can console myself that I only purchased cable ties (about 1700 of them) 4 carabiners, 2 bolts, 2 tarps, hardware cloth, tile board edging, and a metal rod. I also found a good use for a discarded baby gate, 2 beat up plastic wash tubs, 2 fence posts, 2 aluminum awning frames, 2 wheels that were rusting in the barn, 2 left over washers, old siding screws, discarded plumber's strapping, unused latches, old pot hanger hooks, remaining plastic chain, old plastic plumbing, a broken sweeper handle, an extension shower rod, and left over plastic sheeting.
No comments:
Post a Comment
Please let me know what you think... thanks!